When it comes to professional microphone setup, it's not as simple as using a random microphone. A professional microphone setup requires various equipment and gears to give you the best experience of using the microphone.
One of the best microphones is Shure SM7B, perfect for recording vocals and podcasts. To have a successful Shure SM7B setup, you will need to get several other things aside from the microphone because the microphone doesn't come with any of the other things that you need for a complete setup.
You don't need to worry too much about it, though. Here, I will go through all the things you need to know about completing a Shure microphone setup. Let's get going with it.
Related: Shure SM7B Review; Joe Rogan microphone
Contents
Things you need for an SM7B Setup
To ensure you have a proper microphone setup with the SM7B, you will need to get several things along with the microphone. Whether you are getting the microphone for streaming or podcasts, you will surely want to get the best quality out of this.
Here, I will go through all the different components you need to complete the setup. You will need to get these things even to get used out of this microphone.
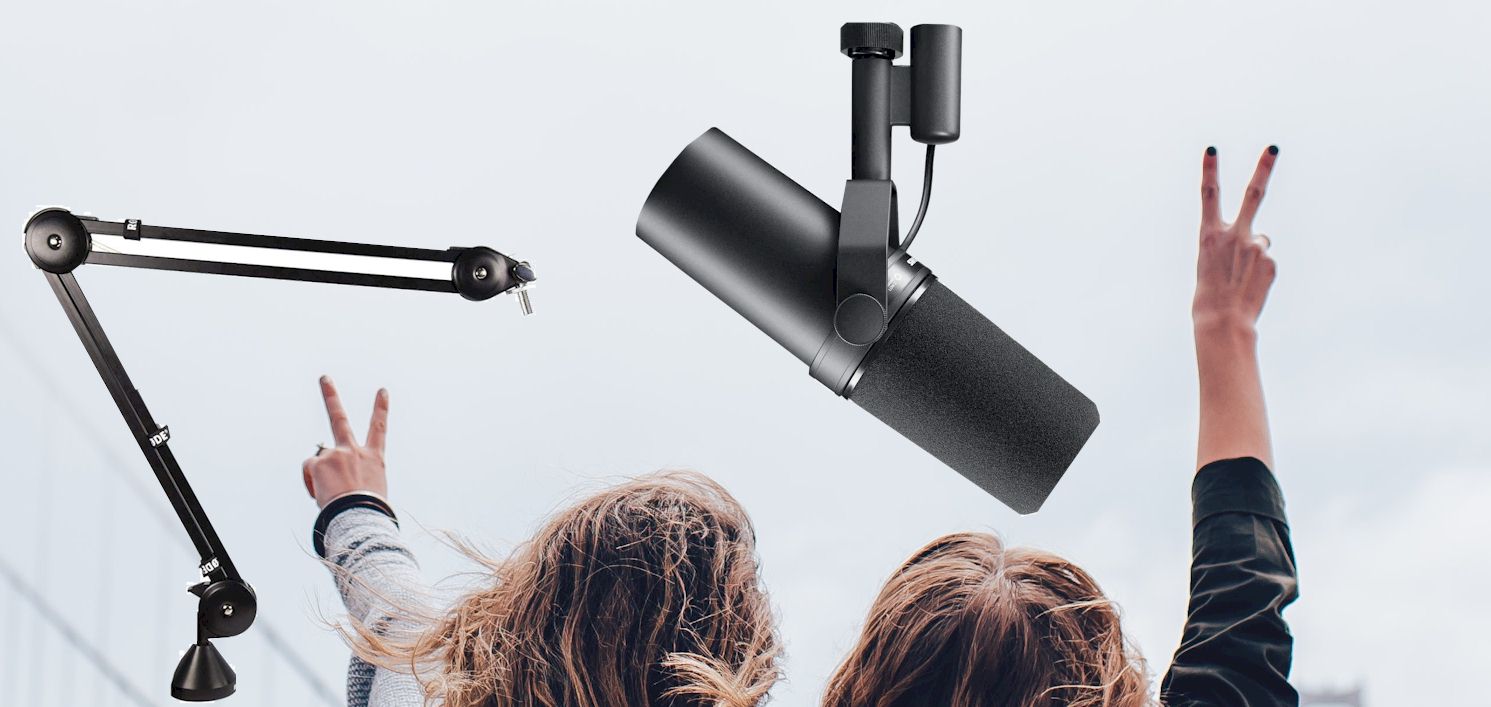
A microphone arm or boom arm
The first thing you need to have for your microphone is a boom arm that you can set up with your desk. Having a heavy-duty arm is pretty crucial because the microphone itself is quite heavy. Without a sturdy or solid microphone, you can't even expect it to hold the microphone in place.
For that purpose, I highly recommend the Rode PSA 1 studio boom arm. It's the perfect arm to accompany the SM7B microphone. You can even get extenders from Shure to better attach the microphone.
Related: Best microphone arm for Shure SM7B
XLR cables
Since the Shure SM7B microphone only offers XLR connectivity, you will need to get some XLR cables to connect them. You will need to get two XLR cables and make sure they are of high quality, as the quality of the cables can also impact how the microphone will perform at the end.
Some quality XLR cables that you can find on the internet come from Cable Matters. The reason I am suggesting these cables is the fact that they are completely black. This goes well with the all-black setup of your SM7B.
Mic activator
Now, this is the most crucial part of completing your SM7B setup. Without a mic activator, you can't get the best out of your SM7B microphone. The purpose of a mic activator is simple; you will essentially get a clean gain of around 20dB without having any clipping issue. Clipping is a common problem with the SM7B if you don't use a microphone activator.
The best microphone activator to go along with SM7B is the Cloudlifter CL-1 Mic Activator. It's the perfect companion for the microphone and gives it just the right amount of gain that it needs to bring top-quality sounds.
Audio Interface
You can't even use this microphone if you don't have an audio interface. It's very crucial to have a quality audio interface if you want to get the best performance from this microphone. No matter your purpose, getting an audio interface is a must.
If you struggle to find one, I recommend getting the Focusrite Scarlett 2i2 audio interface. Many professional streamers, podcasters, and audio producers use this interface with the SM7B. This audio interface is capable of bringing out the best from this microphone.
So, these are the things that you will need even to run the Shure SM7B setup successfully. Now, let's get through the setup process and how you should approach this whole thing in the first place.
Setting up the Shure SM7B
Once you have got everything ready, you will begin the whole process by attaching the microphone to the boom arm. Of course, you will need to install the boom arm on your desk to your preference first.
The best way to attach the microphone to the boom arm is to use the Shure mic extender. First, you have to attach the extender to the boom arm. Then, attach the microphone to the extender. Doing this helps you avoid the hassle of turning your microphone round and round with the extender.
After that, you will need to connect one XLR cable to your microphone and run the cable through the slots of the boom arm. Then, connect the other end of the XLR cable to the mic activator. In this case, you will need to connect it to your Cloudlifter CL-1.
From there on, you will take another XLR cable and connect that to the other end of the mic activator. Take the other end of that same XLR cable and connect it to the audio interface. Then, you can simply connect your audio interface to your computer or laptop, whichever you are using.
Finally, you can just load up the software you want to record your audio on your computer. And that's pretty much it for the setup. It's not that complicated.
The key things to keep in mind here are the needing to use the mic extender and mic activator. These two are the crucial parts that many people may not be aware of using. So, you have to make sure that you get two things to get the best possible outcome from your microphone.
Wrap up
In short, even if the Shure SM7B is a quality microphone, it's truly isn't that valuable when you don't have the complete setup. It doesn't come with everything you need in the package; it's essential to know about the best Shure SM7B setup to get the most out of this microphone.
With the proper kind of setup, you will get the best value out of the microphone and get its true potential. Otherwise, you will just be spending money on a microphone but won't get the real value out of it.

Graduated with a Bachelor of Audio Engineering and Sound Production. He has worked with a number of studios as a Recording Engineer, with over 10 years of servicing experience in both re-recording mixing and sound editing.