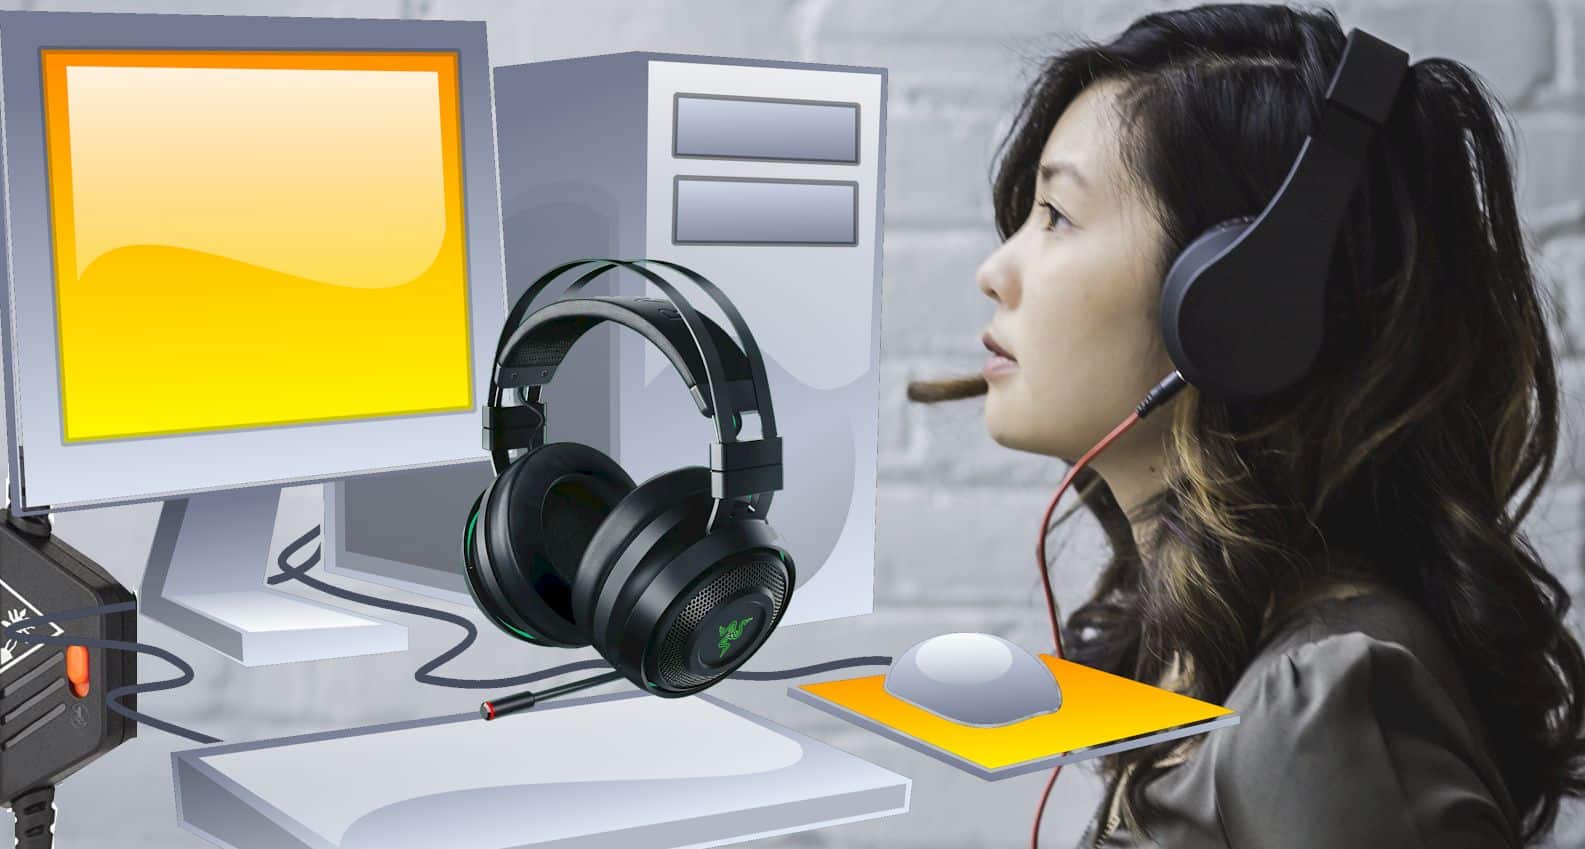
Microphone monitoring may sound disturbing, but in the world of gaming, mic monitoring is a completely different thing.
Let’s explore what mic monitoring is and why gamers use this feature to win over their competitors.
We will also touch on how to enable this feature on your gaming console and also how to disable mic monitoring in case you don’t need it when you play.
Contents
What is Mic Monitoring?
The feature called mic monitoring is an audio feature that lets you hear your voice accurately from your headphone speakers. As you talk through your headphone microphone, your voice is heard from the headphones and thus, you can hear exactly what you’re saying. You can enable or disable this feature from your computer, gaming device, or gaming console. We’ll get into this later.
Mic monitoring is commonly used by gamers who want to make sure that their team or partner can hear their commands correctly. It is also used by people who make conference calls. You can use this feature to communicate with one or more people or in a group.
How Mic Monitoring is used? The Reasons Why is Mic Monitoring Used?
Mic monitoring is not a new feature, and in fact, a lot of people don’t even know that they have this on their devices. It is available on different platforms, including PC, Mac, Xbox, and PS4 consoles. To use mic monitoring, you need to enable this in your device. You can always disable this when you don’t want to use it.
Other than making sure that you’ve heard correctly, there are many reasons why people use mic monitoring whenever they communicate using their preferred platform. Here are the most popular ones:
Fast and efficient troubleshooting with mic monitoring
Mic monitoring won’t keep you guessing if there is something wrong with your audio. Nowadays, when remote online work is the norm, it’s important to be ready for remote business meetings, Zoom meetups, client conferences, Teams meetings, etc. And being ready is not just about knowing what to say and looking great, but you must make sure that your equipment is perfect for your activity.
Mic monitoring lets you hear your voice even before you start a meeting, a call, or any activity. By hearing your voice through your headset, you can adjust the audio settings of your device accordingly. You can raise or lower the volume, adjust or remove any effects or replace a faulty headset or wiring. You can troubleshoot ASAP and be ready for your activity in no time.
You can avoid shouting when you use mic monitoring
Most people have developed a loud voice after talking and communicating using their headsets. They feel that they need to speak louder so that the person they are talking to can hear them better. But what they are doing is only making this worse. They sound louder and will even speak louder if they are not satisfied!
Mic monitoring will make sure that you’ll never have to shout again. Because you can clearly hear your voice through your headset, you can gauge whether you’re talking too softly or too loudly. You can also modulate your voice to sound more professional or to sound your age. With mic monitoring, you can also clearly hear and correct any problems, not just the volume of your voice.
Sometimes, people mistake us for the sound, tone, and volume of our voices. Talking to a client in a loud voice can translate to being angry, too risky, and too demanding. Meanwhile, talking too softly can translate to being too soft, unreliable, and unprofessional. Use mic monitoring to correct your voice right away.
You can communicate with your team better
How many times have you lost a game because of poor communication? Also, how often do you hear yourself confirming if your team has heard what you said? Indeed, communicating with your teammates and your group can make or break your team effort.
Mic monitoring can help gamers keep in touch with their mates. They can assist their team, provide commands and cheer them on during a strenuous tournament. Mic monitoring will make sure that what you said is heard by everyone.
You can play better and work better
Mic monitoring will help you play better no matter what gaming platform you’re using. Whether you’re using Xbox or PlayStation, mic monitoring will guarantee your victory.
Meanwhile, mic monitoring will make sure that you’re working more efficiently and productively. You can disseminate information to your group better and work on different projects with ease with mic monitoring.
How to turn on and turn off Mic Monitoring on Different Platforms?
As we mentioned before, mic monitoring may be enabled or turned on and disabled or turned off on your device. However, the way it’s done depends on what platform you’re using.
Enabling and disabling mic monitoring on your PC
You can take advantage of mic monitoring on your PC when you play different online games or as you engage in conference calls or meetings online.
How to enable mic monitoring on PC
How to turn on a mic monitoring PC? This step-by-step tutorial makes use of a Windows PC with Windows 10 operating systems. For older OS versions, look for the Sound icon and find Microphone to make the necessary adjustments.
- Locate the Sound icon on your PC taskbarThe Sound icon is a small speaker icon located at the bottom right of your screen. Usually, the Sound icon is next to the Network icon and the Windows Ink Workspace icon. If you still can’t find the Sound icon, use the search bar at the bottom left corner of the screen near the Windows icon.
- Right-click SoundOnce you find the Sound icon, right-click to open up the menu. In a typical setup, right-clicking the Sound icon will reveal the menu with Open Sound settings, Open Volume mixer, Speaker setup (Stereo), Sounds, and Troubleshoot sound problems.Click Sounds in the menu to take you to the Sound page settings.
- Choose the Recording tab and look for your deviceLocate the Recording tab on the Sound page settings. It is near the Playback, Sounds, and Communications tabs. When you click Recording you will go to a new menu where all your recording devices are listed. If you have several microphones connected to your PC, you’ll find these here. Choose the microphone you will be using.
- Click PropertiesAfter selecting, right-click the device and click on the Properties. This is found at the bottom of the menu with Configure Speech Recognition, Disable, and more.
- Locate the Listen tabClicking Properties will open the Microphone Properties. Look for the Listen tab and click on it.
- Check “Listen to this device”Click Listen to this device and voila! You have enabled mic monitoring on your headset with a microphone.
How to disable mic monitoring on your PC
How to turn off the mic monitoring PC? Disabling mic monitoring is just the opposite of enabling the feature. The following steps apply:
- Locate the Sound icon on your PC taskbar.
- Right-click Sound
- Choose the Recording tab and look for the device you are using
- Click Properties
- Locate the Listen tab
- Check “Listen to this device”
When you find the Listen to this device, simply uncheck this, and you have disabled mic monitoring in your device.
Enabling and disabling mic monitoring on a Mac computer
Enabling and disabling mic monitoring on a Mac is different from mic monitoring PC or Windows PC as there is no feature on the Mac to do it. You must first install a program to support mic monitoring on your Mac. The most common app used by many Mac players and gamers is Quick Time.
How to enable mic monitoring on a Mac
- Install Quick Time Player on your Mac computerIf you don’t have Quick Time Player on your computer yet, go to Apple Store to download it. After downloading, install the program on your computer and start using it.
- Open Quick Time Player and access the program barFor mic monitoring on Mac, open the program and access the Quick Time Player bar to go to the different menu and features. The Quick Time Player bar will have File, Edit, View, Window, and Help displayed on top.
- Choose File and go to New Audio Recording.Choose File to drop down the File menu. From this menu, choose New Audio Recording. It is located right below the New Movie Recording and above the New Screen Recording.From this menu, you can also open a particular file, open file location, open recent files (and display recent files to open), and open image sequence.
- Adjust the volume slider on the screenAfter clicking New Audio Recording, a volume slider will display in the middle of the screen. The Audio Recording volume slider will have a slider you can click and slide down or up. Sliding it down will reduce the recording volume and placing this up will increase the recording volume.To enable the mic monitoring function on your Mac, you need to place the volume slider to the very top. Now you have your mic monitoring ready for action on your Mac computer. You will notice a large red circle in the middle of the volume slider. This is the record audio button, and you don’t need to press this to start mic monitoring.
How to disable mic monitoring on a Mac
To disable this feature on a Mac, follow these steps:
- Access Quick Time Player
- Launch the menu bar
- Click on File and New Audio Recording
- Adjust the volume slider on the screen
Because you want to disable this feature, you will move the slider button all the way down. This will turn off your microphone and stop mic monitoring. This feature remains off even when you restart or power off your Mac computer.
Enabling and disabling mic monitoring on your Xbox gaming console
Mic monitoring is very helpful in console gaming, especially on an Xbox gaming console. However, your headphones must support mic monitoring to work. This is because gaming consoles are unable to redirect signals from your mic to the speakers. You need another device or system, which is your mic monitoring-enabled headphones.
How to power on mic monitoring in an Xbox console
- Locate the headphone jack on your Xbox gaming controllerAll Xbox controllers come with headphone jacks. This is located at the bottom of the controller under the cursor button or cross button.
- Plug in your headphoneIn most cases, plugging the headphone into the headphone jack of the Xbox gaming controller will start the mic monitoring feature. But if it doesn’t, you can proceed with the next steps.
- Activate the gaming controller by pressing the Xbox buttonTo start mic monitoring Xbox, press the Xbox button located in the middle of the controller. The button has the Xbox logo printed on it. You can tell that the button is activated when it lights up.
- Move the leftmost tab to go to System and AudioMove to the leftmost part of the screen and go to System. Once you’re in the system menu, go to Audio settings. The Audio settings are located at the bottom, it is the rightmost icon after the search magnifying glass, Microsoft Store icon, Game Pass icon, and the notifications bell.
- Adjust the Xbox mic monitoring volume slider according to your needsClick the audio icon to take you to the audio settings. On top of this menu is a Kinect mic for a chat with a button to activate it or disable it. Towards the bottom of the menu is the Mic monitoring volume slider. Simply slide the slider up to activate this feature. Now you’re ready to play your favorite Xbox games and use mic monitoring.
How to disable mic monitoring in an Xbox console
- Unplug your headphones from your Xbox gaming controllerUsually, just by unplugging your headphones from the gaming controller will disable the feature. But if you still want to use your headphones, proceed with the next steps.
- Press the Xbox button
- Move the leftmost tab to go to System and Audio
- Adjust the Xbox mic monitoring volume slider according to your needs
To disable Xbox one monitoring, move the mic monitoring slider down to disable the feature. You can always turn it up anytime, even in the middle of a game.
Enabling and disabling mic monitoring PS4 console
Just like Xbox consoles, you can only use mic monitoring on a PS4 console if your headphones have this feature. In a PS4 console, you need to enable the Sidetone feature in the device setting.
How to enable mic monitoring on your PS4
- Locate the headphone jack on a PS4 console and plug your compatible headphone in.Find the headphone jack and plug your compatible headphone in the jack to activate the feature. Usually, this comes automatically but in case the feature is not automatically activated, proceed with the next steps.
- Go to Settings and access Devices.Go to the device settings and then access the tab that says Devices. The Devices menu allows you to adjust Bluetooth devices, audio devices, controllers, external keyboards, mouse, PS cameras, USB storage devices and turn off any device.
- Click Audio Devices and access Sidetone volumeFrom the Devices menu, click Audio Devices to open a new menu. From this menu, look for Sidetone Volume located at the bottom. Click the Sidetone Volume to activate it.
- Choose the appropriate volume from 1 to 5You will know that the Sidetone Volume is on when it is highlighted and the numbers 1, 2, 3, 4, and 5 appear on the right side of the menu in descending order. After volume level 1 is the Off. Check any of these numbers to set the volume level of your mic monitoring headphone. You have successfully activated mic monitoring on your PS4.
How to turn off your mic monitoring on a PS4
- Disconnect your headphone from the PS4 console.Usually, disconnecting your headphone will deactivate the mic monitoring feature. But if you still want to use your headphones, continue the following steps.
- Go to Settings and access Devices.
- Click Audio Devices then go to Sidetone volume
- Choose the lowest volume or turn this feature offThe lowest volume is 1 but may still be sensitive enough to monitor your audio. It’s best to set the level Off to deactivate mic monitoring completely.
What Headsets Don’t Support Mic Monitoring? What to Do When Headsets Don’t Support Mic Monitoring?
Almost all gaming headsets compatible with the Xbox console and PS4 have built-in mic monitoring features. And if you’re looking for good headset models and brands, we recommend the following:
- Logitech G733 LIGHTSPEED Wireless– this gaming headset is designed for PC, Mac, and PS4 users. It is wireless so it’s convenient for all gamers and is comfortable to use. It comes with 29 hours of battery life in just one full charge. You’ll enjoy playing and communicating with your peers using the built-in mic monitoring features.
- JLab – Jbuddies Play Gaming Headset– this is a wireless gaming headset that will give you more than 22 hours of uninterrupted playtime in one full charge. It is compatible with PlayStation, Xbox, and PC/Mac devices plus, the retractable boom mic offers mic monitoring to communicate with your teammates.
- Razer-Kraken Wired 7.1 Surround Sound Gaming Headset – stun your opponents with the Razer Kraken, a wired 7.1 surround sound headset made for PC, Xbox One, Switch, and PlayStation consoles. This comes with a unidirectional microphone plus a 50 mm driver to give you clearer and more powerful sound.
- Astro Gaming – Wired Stereo Gaming Headset – one of the coolest looking headsets made especially for Xbox consoles is the Astro Gaming A10 wired gaming headset. This mic monitoring Xbox One headset is made from very durable materials that will resist damage and dents due to constant use. It comes with a powerful microphone with flip-to-mute and an easy intuitive volume switch. Because it’s compatible with an Xbox console, it has a built-in mic monitoring feature.
- Insignia – Wired Chat Headset for PS4 and PS5 – the Insignia brand wired headset is made for the PlayStation 4 and 5 consoles. It has a flexible headset that you can wear on the right or left ear. The microphone has noise-canceling features and on-ear volume controls. This is a mono headset that works well with mic monitoring features on a PS console.
When it comes to headsets that don’t support mic monitoring, it may be impossible to use these on a PS4 or Xbox console. These gaming consoles require only headsets that come with a mic monitoring feature.
You can use a headset with no mic monitoring feature on a PC or Mac. You may also use a generic type of headset or a simple chat and gaming headset that doesn’t have mic monitoring on your computer. Just follow the steps on how to enable mic monitoring from a PC or a Mac to activate.
To determine if a headset is capable of mic monitoring, read the manufacturer’s description. This is usually indicated in the product specs. If you can’t find mic monitoring as one of the device’s features then this headphone may not support it. Also, you can always contact the manufacturer or dealer to find out if it supports mic monitoring. You may also consult gamers and experts about the best headset that supports mic monitoring.
Conclusion
Now that you have an idea as to what is mic monitoring, you may now use this feature to help you boost your gaming and to improve overall productivity at work. There are many advantages of mic monitoring that you can take advantage of especially in gaming. With this feature, you can win over your opponents and dominate your gameplay every single time.

Graduated with a Bachelor of Audio Engineering and Sound Production. He has worked with a number of studios as a Recording Engineer, with over 10 years of servicing experience in both re-recording mixing and sound editing.