Installing your brand new ceiling speaker may not be as difficult as you think. You can easily place your speaker at your desired location even if you don’t have any experience regarding appliance installation. This guide presents to you a step by step process on how to install ceiling speakers in your home.
At first glance, you might get intimidated by the task. You might ask yourself if you can finish it on your own. Cutting a hole in your drywall might look hard at first, but this is not a barrier. If you know the right materials and the correct procedure, you can tackle even the most complicated step. However, be aware that there is nothing difficult about installing a ceiling speaker.
Drywall or sheetrock is, by structure, a soft building material and is easy to deal with. Choose a location that is not covered with a poster or wallpaper when you need to bore a hole into a wall for cables to pass through.
Blending a faux finish or matching patterns can be difficult, especially if a wire or a cable is bulging on the design. If you’re a master at paint or wallpaper repair, then go for it.
Contents
Materials Needed for Ceiling Speaker Installation
The first step in any installation process is to gather the equipment necessary to perform the task. Here are the standard tools that you must get before mounting your first speaker.
- Sheetrock saw or keyhole saw
- Tape measure
- Fish tape
- Utility knife
- Ladder
- Box cutter
- Wire stripper
- Screwdrivers
- Safety glasses or goggles
Optional
- Electric or hand-held drill
Choosing the Perfect Location for Ceiling Speakers
Once installed, you cannot move your ceiling speakers. You must decide the most desirable and the safest location before the actual installation.
The wiring and location of the speakers are essential. Pre-planning is a must to avoid hitting installation issues.
Plan where you will run the wire or cable. If you want the line to go on a wall or under a carpet, it is recommended to use a flat cable. If you want the cord to run through attics, under crawl spaces, or inside walls, round wires will do. Having to plan before the installation will not only save money but will also allow you to finish the task quickly.
Code and Safety Review
- Use material cabling that complies with your state and community building codes.
- Be cautious when you’re standing on a ladder.
- Use goggles to protect your eyes.
- Ensure that you have enough lighting when working in an attic, unfinished basement, or crawl space.
- If you’ve drilled through a fire barrier, fill the hollowed part with a fire retardant substance. You can purchase fire retardant materials at hardware stores.
- Use a sharp blade when stripping or cutting wires because using a dull blade exposes you to tetanus infection.
- Shut off power when drilling through walls.
Three Easy Steps to Install Ceiling Speakers
An audio system with ceiling speakers produces immersive and fantastic sound throughout a room. You can listen to your favorite movie or music while eliminating undesirable cords and floor-standing speakers with properly mounting a speaker to your wall or ceiling.
Aside from the benefit above, installing ceiling speakers is a great way to save space.
So, how can you smoothly install your ceiling speakers, and upgrade your home audio system? Without further ado, here are the three simple steps that you need to follow to place your brand new ceiling speakers in the location of your choice.
Prepare the location
Place your ladder near the desired location. Use a stud finder to locate all ceiling joists or nearby studs. You can also try to mark them using a masking tape; then, draw the area of the speaker with a non-permanent marker.It is recommended to use the template found in the speaker box. If you want to do this, proceed by taping the model to the placement location before tracing it using a marker or a pencil.
Cutting through
Score the outline of the speaker with the box cutter; then cut the shape using a keyhole saw. You have to make sure that you cut inside of the traced area because the keyhole saw has a thick blade. If you cut outside or directly on the tracing, you might not achieve the desired measurement for the hole.Before removing the cut area, wear your eye protector to prevent debris or dust from entering your eyes. Grab the saw and cut around the outline in just one direction. Do not stray away from the shape that you scored and traced
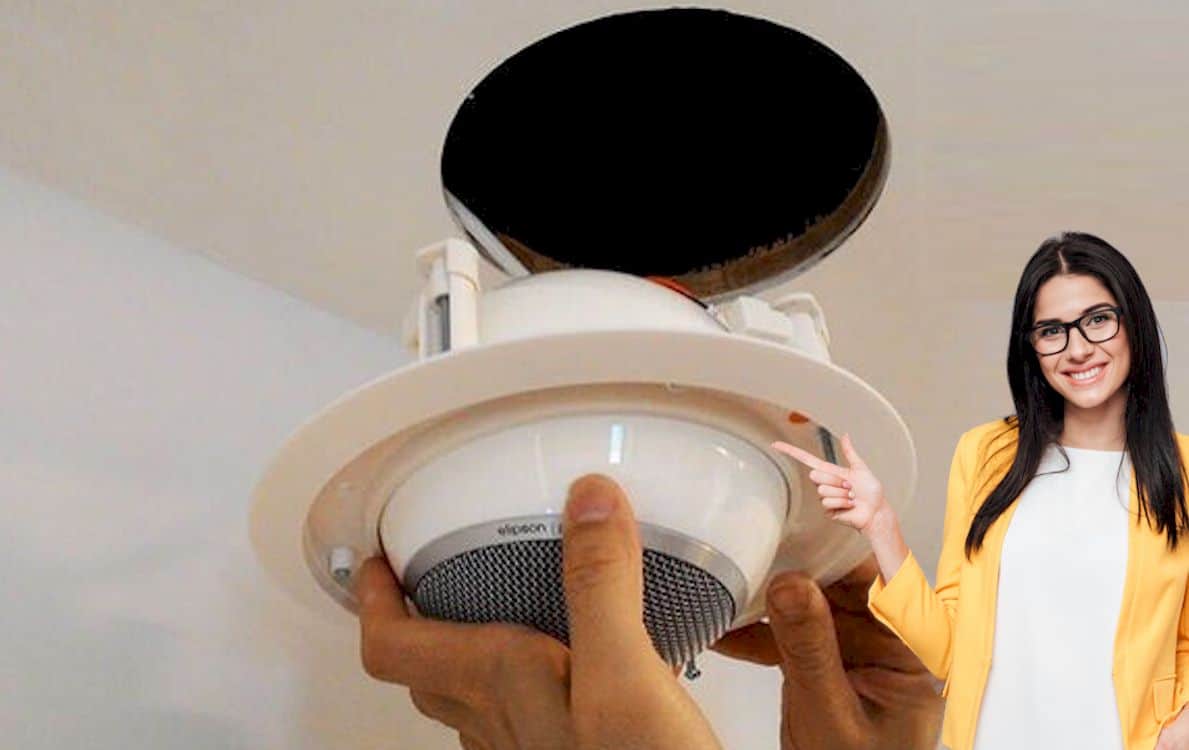
Installing the ceiling speaker
Installing the speaker is the final step. You don’t need to rush in this stage. Start by testing the area by placing the speaker in the hole. You must check if it fits perfectly. After that, you can proceed with the installation.Push the ceiling speaker into the hole. Don’t stop until it is securely in place. By this time, you’re ready to attach the speaker to the ceiling. You can proceed by following the steps below.
- Remove the speaker grill.
- Pull the cords from the ceiling.
- Uncover half an inch of each of the conductor’s copper strands using the box cutter.
- Connect the stripped parts of the wires to the speaker by soldering them or mounting them to the speaker terminals.
- Insert the speaker back to the ceiling.
- Securely fasten the ceiling speakers in place by ensuring that you fit all the screws correctly.
- Before you place the speaker grill back, adjust the swivel tweeters so that the sound is concentrated on where you want it.
- Lastly, paint the grill to match your interior design.
Installing ceiling speakers will be a walk in the park if you carefully follow the procedure, and safety tips presented to you. You get powerful and immersive sound while keeping the quality of your interior decors when you correctly follow the aforementioned three easy steps to install ceiling speaker.

HI, John Andrew here. I’ve been an audiophile since I was a little kid. I’m an original member of myaudiolover . It emerged as a way for me to share my passion and knowledge for audio technology. If you’re looking for tips, techniques, and insights about audio-tech, that can enable your productions that professional edge, then MyAudioLover is the place for you!